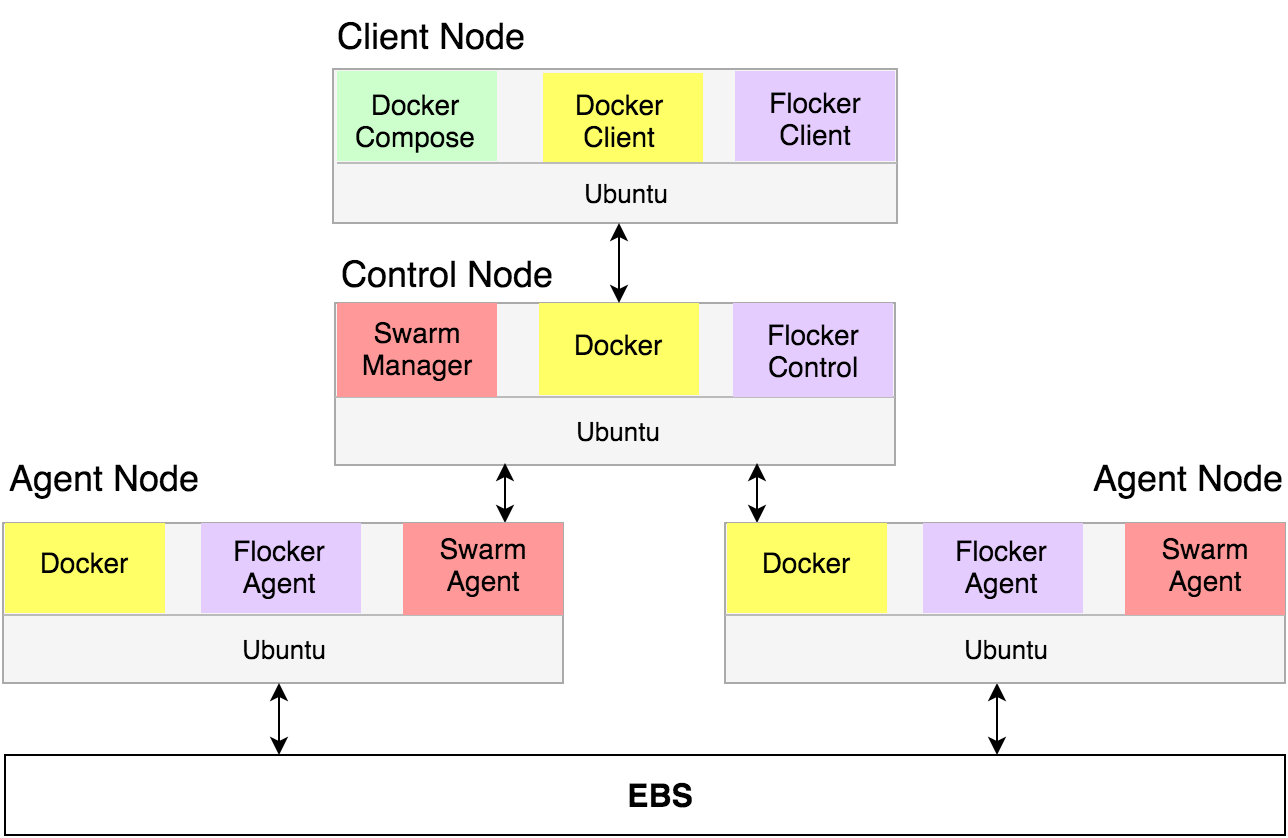
In this guide you will learn how to quickly deploy a cluster of servers running Flocker and Docker Swarm. You will launch four EC2 instances in your AWS account, as illustrated below:
Follow the steps below to create your cluster. Once it’s up and running we’ll guide you through a tutorial to deploy a sample app.
The AWS Key Pair allows you to login to your AWS cluster securely.
Log in to AWS
This button will open AWS in a new window.
 When you have logged in to the AWS console, select your region. This should be the same region where you will create your cluster.
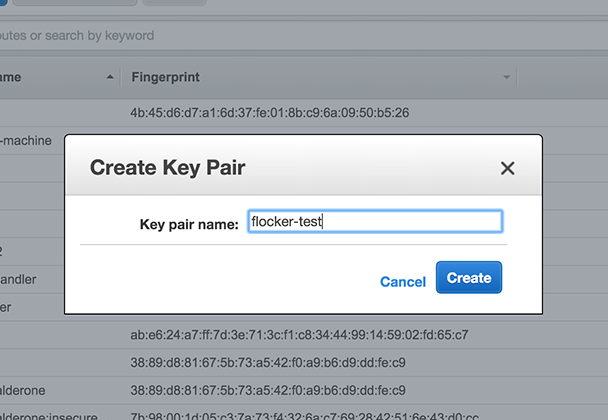 Click "Create Key Pair". Give your key pair a meaningful name, like <username>-flocker-test. You'll need this later, so make a note of it.
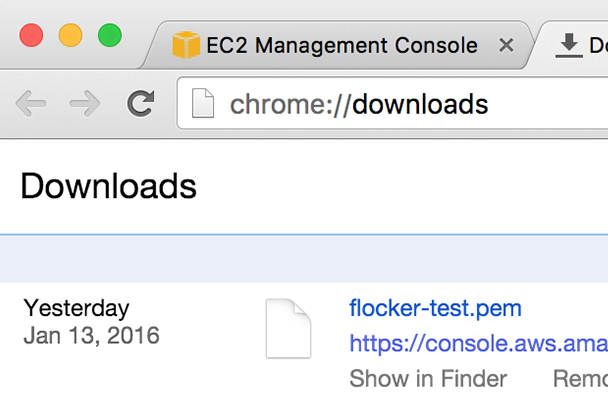 The private key (.pem file) will be downloaded onto your computer.
Start CloudFormation Configuration Process
This button will open CloudFormation in a new window.
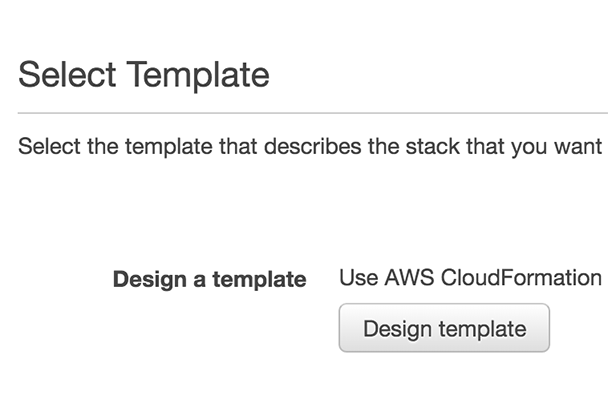 Click "Next" to proceed past the first page.
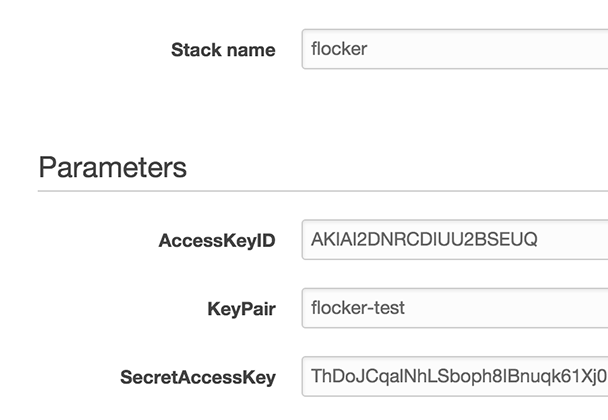
Stack name. This can be any descriptive name.
KeyPair name from Step 1. Then enter your AWS AccessKeyID and SecretAccessKey credentials.
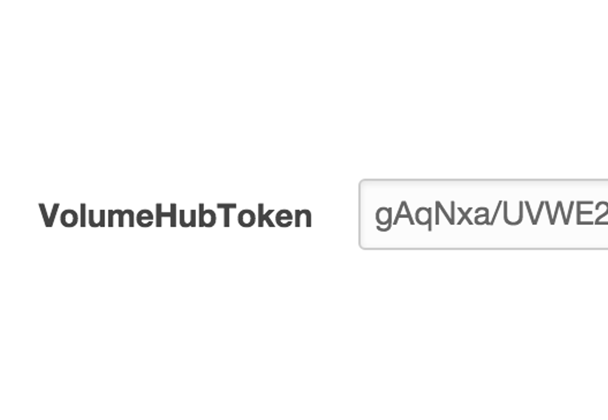
<YourToken> part from {"token": "<YourToken>"} into the VolumeHubToken field.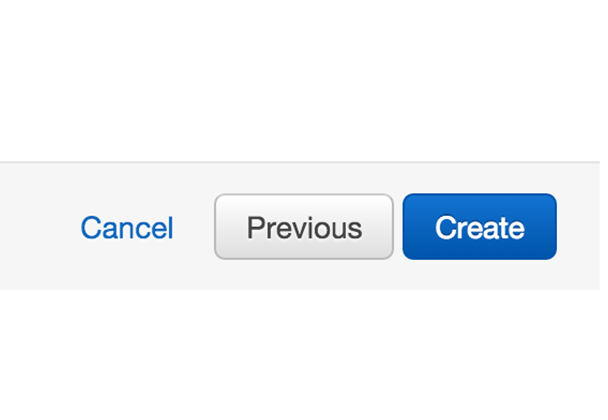

It will take 5-10 minutes for the cluster servers to boot and to configure the Flocker and Docker Swarm services on each server.
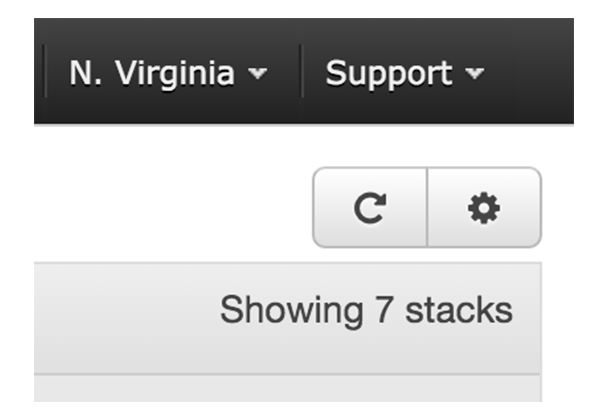 The stack may not appear immediately. Click the "Refresh" button until the new stack appears.
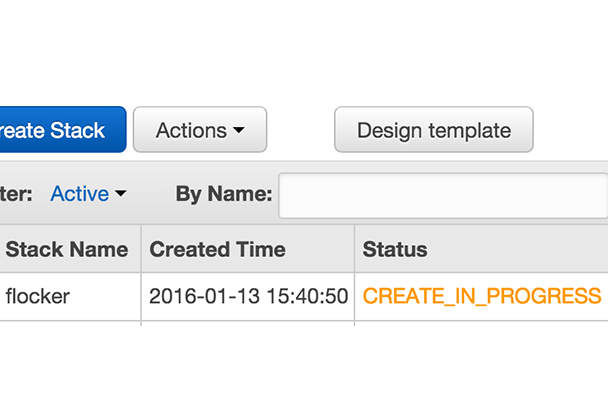 Once the stack appears its status will be "CREATE_IN_PROGRESS".
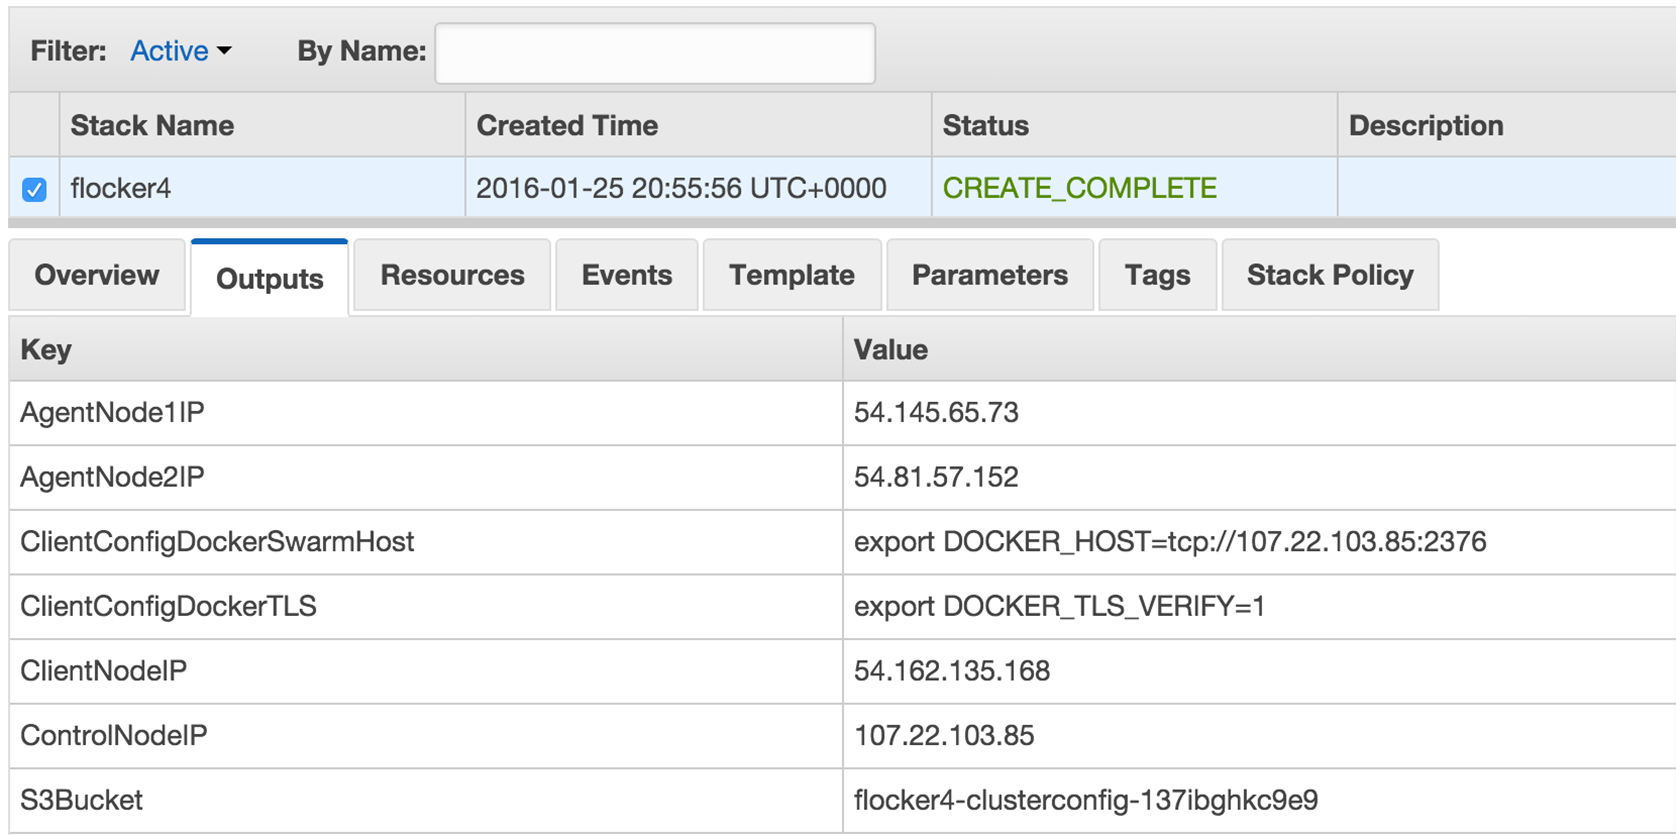
 After 5-10 minutes the cluster will be ready for use and its status will be "CREATE_COMPLETE".
The cluster is now ready.
After 5-10 minutes the cluster will be ready for use and its status will be "CREATE_COMPLETE".
The cluster is now ready.
Click on the "Outputs" tab for your stack. The values displayed on this tab will be used for verifying your installation and also any tutorials you go through.
Now open a Terminal window, and run the following commands to log in and verify your cluster is working.
Where a command includes a string like <ClientNodeIP>, use the corresponding value from the Outputs tab.
Where a command has <KeyPath> use the path on your machine to the .pem file you downloaded in Step 1, for example: ~/Downloads/<username>-flocker-test.pem.
chmod 0600 <KeyPath> ssh -i <KeyPath> ubuntu@<ClientNodeIP> # enter "yes" if prompted export FLOCKER_CERTS_PATH=/etc/flocker export FLOCKER_USER=user1 export FLOCKER_CONTROL_SERVICE=<ControlNodeIP> # not ClientNodeIP! flockerctl status # should list two servers (nodes) running flockerctl ls # should display no datasets yet export DOCKER_TLS_VERIFY=1 export DOCKER_HOST=tcp://<ControlNodeIP>:2376 docker info |grep Nodes # should output "Nodes: 2" exit
If the commands succeeded, then your Flocker and Docker Swarm cluster is up and running.
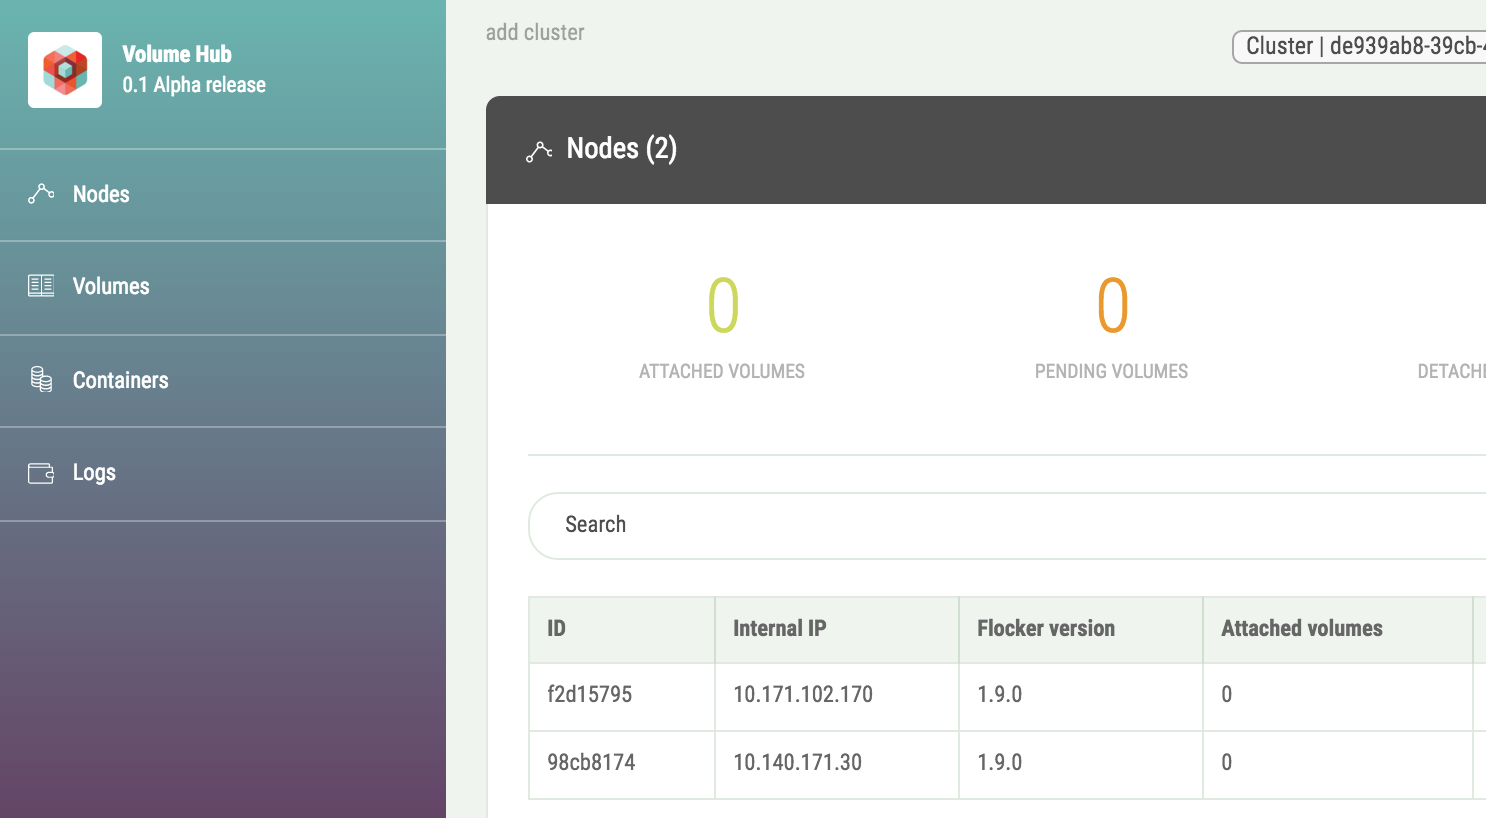
You can also verify that your cluster has shown up in the Volume Hub:
Volume Hub
It should look like this:
Your cluster is now ready. Now try a tutorial.
Deploy an app on your Swarm/Flocker cluster